✓ Understanding facial anatomy is crucial for realism.
✓ Layering is key to achieving depth and smooth transitions in shading.
✓ Practice observing light and shadow patterns constantly.
✓ Patience and persistence are more valuable than natural talent.
How It Works
1
Master Basic Proportions
Begin by learning the fundamental rules of facial measurement and placement. This foundational step ensures your portrait starts with an accurate structure.
2
Develop Form with Structure
Once proportions are established, use simple geometric shapes to build the head and facial features. This helps in understanding the three-dimensional aspect of the face.
3
Apply Layered Shading
Introduce tone gradually, building up layers from light to dark. This technique creates smooth transitions and gives depth to your realistic portrait.
4
Refine Details and Textures
Focus on the subtle nuances of skin, hair, and eyes, adding fine details and textures. This final stage brings the portrait to life, capturing individual characteristics.
Understanding Facial Anatomy and Proportions for Realistic Drawing
Photo: Tima Miroshnichenko / Pexels
Embarking on the journey of how to draw realistic portraits step by step begins with a profound understanding of facial anatomy and the universal rules of proportion. Without this bedrock knowledge, even the most diligent shading efforts will fall short of achieving true realism. The human face, while incredibly diverse, adheres to certain average measurements and placements of features that serve as a crucial starting point. Think of the face as an intricate landscape with mountains (brow ridge, cheekbones), valleys (eye sockets, philtrum), and plains (forehead, cheeks). Each element contributes to the overall structure and expression, and knowing their underlying bone and muscle structure allows you to draw with conviction, rather than simply copying what you see.
Start by conceptualizing the head as a sphere, then shave off the sides to form a more egg-like shape – this is often referred to as the 'Loomis method' or a similar foundational approach. A horizontal line, typically placed halfway down this egg, marks the eye line. This isn't just a random placement; it corresponds to the actual anatomical position of the eyes relative to the top of the skull and the chin. Another crucial line divides the face vertically, ensuring symmetry. From these basic divisions, you can begin to map out the other key features: the hairline, the base of the nose, and the mouth. Generally, the distance from the hairline to the brow, the brow to the base of the nose, and the base of the nose to the chin are roughly equal. Similarly, the width of the head is approximately five eye-widths across, and the space between the eyes is roughly one eye-width. These are not rigid laws but rather flexible guidelines that provide a robust framework upon which to build your portrait.
Moving beyond these initial measurements, delve deeper into the specific anatomy of individual features. The eyes, for instance, are not simply almond shapes; they are spheres nestled within sockets, covered by eyelids with varying thicknesses and folds. Understanding the orbital bone structure surrounding the eyes will inform how light and shadow play across this area, creating depth and dimension. The nose, far from being a simple triangle, is a complex cartilaginous structure with a bridge, nostrils, and alar cartilages, each contributing to its unique form. Similarly, the mouth is not just a line; it's a series of muscles (orbicularis oris) that shape the lips and control expression. The jawline, cheekbones, and temples are all defined by underlying bone structures that give the face its unique contours. Studying anatomical diagrams and even practicing drawing skulls can be incredibly illuminating. This knowledge allows you to construct a face that feels solid and believable, rather than flat or distorted. As you progress, you'll learn to adapt these general proportions to individual subjects, recognizing how each person deviates subtly from the average, which is where true likeness begins to emerge. Remember, the goal is not to perfectly replicate a diagram but to internalize the principles so you can apply them flexibly to any face you encounter. For more on foundational art skills, consider exploring basic drawing techniques.
Furthermore, understanding how different ethnic groups and age ranges subtly alter these proportions is also part of mastering realism. For example, children often have larger foreheads relative to their facial features, and the eyes appear lower on the head. As people age, skin sags, and bone structure becomes more prominent, altering the perceived proportions. The ability to observe and accurately interpret these variations, built upon a strong anatomical foundation, is what distinguishes a beginner from an accomplished portrait artist. Practice drawing from life, photographs, and even anatomical atlases. The more you immerse yourself in the structure of the human face, the more instinctively you'll be able to render it realistically.
Building Form and Dimension Through Value and Shading Techniques
Photo: Huy Nguyễn / Pexels
Once the foundational structure and proportions are established, the next critical phase in how to draw realistic portraits step by step involves building form and dimension through the masterful application of value and shading. Value refers to the lightness or darkness of a tone, and it is the primary tool artists use to create the illusion of three-dimensionality on a two-dimensional surface. Without accurate values, a portrait will appear flat, regardless of how perfect the initial outline might be. The human face is a complex interplay of curves, planes, and subtle transitions, all of which are revealed by how light interacts with its surfaces.
Begin by identifying the light source. Is it coming from above, below, the side, or multiple directions? Understanding the direction and intensity of light is paramount, as it dictates where highlights, mid-tones, and shadows will fall. Think of the face as a collection of simple geometric forms – spheres for the eyes, a wedge for the nose, a cylinder for the neck – and imagine how light would strike these basic shapes. This mental exercise helps simplify the complex forms of the face into more manageable components for shading. Start with a light, even layer of tone across the areas that are generally in shadow, even if faintly. Avoid pressing hard initially; the key to realistic shading is to build up values gradually through multiple layers.
Layering is a fundamental technique for achieving smooth, realistic transitions. Instead of trying to achieve the darkest darks or the lightest lights in one pass, apply successive layers of graphite (or charcoal, or colored pencil) with a light touch. Each layer slightly darkens the previous one and helps blend the tones seamlessly. This prevents harsh lines and patchy areas, which are common pitfalls for beginners. As you layer, pay close attention to the edges of shadows. Are they hard and crisp, indicating a sharp plane change, or soft and diffused, suggesting a gradual curve? Soft edges can be achieved by using a lighter touch, blending with a stump or tissue, or by gradually lightening your pencil pressure as you approach the lighter areas. Conversely, hard edges are created by maintaining consistent pressure up to the shadow boundary.
Mid-tones are equally important as highlights and shadows. They provide the bridge between the extremes and allow for the nuanced modeling of form. Observe how light gently transitions into shadow on curved surfaces like the forehead, cheeks, and chin. These subtle gradations are what give the face its soft, organic quality. Don't forget reflected light – light bouncing off surrounding surfaces (like a shirt or the environment) into the shadowed areas of the face. Reflected light prevents shadows from looking like black holes and adds a touch of realism, revealing subtle details within the darker regions. However, ensure reflected light is always darker than the direct light areas.
Finally, continuously compare the values across the entire portrait. Squinting your eyes can help you simplify the scene into broader areas of light and dark, making it easier to identify value relationships. Avoid the temptation to make every shadow too dark or every highlight too bright; focus on the relative differences. A successful realistic portrait doesn't necessarily have extremely dark darks or bright whites; it has a convincing range of values that accurately represent the light conditions and the three-dimensional form of the subject. Patience, careful observation, and a systematic layering approach are your best allies in mastering this crucial aspect of realistic portraiture.
Capturing Likeness: Refining Details, Textures, and Expressions
Photo: Lean Leta / Pexels
With a solid foundation in anatomy, proportion, and value established, the final, yet arguably most captivating, stage in how to draw realistic portraits step by step is the meticulous refinement of details, textures, and expressions. This is where the portrait truly comes alive, transitioning from a generic representation to a recognizable individual. Capturing likeness goes beyond mere accuracy of features; it delves into the unique characteristics that define a person, their personality, and their emotional state. It requires a keen eye for observation and a delicate hand to render the subtle nuances that make each face distinct.
Begin by focusing on the eyes, often considered the 'windows to the soul.' The eyes are not just the iris and pupil; they encompass the eyelashes, eyebrows, eyelids, and the delicate skin folds around them. Pay attention to the subtle reflections in the pupils, which often reveal the light source and add a spark of life. The texture of the iris, with its unique patterns and colors, should be rendered with fine lines and careful layering of tone. The eyelashes should be drawn individually, following their natural curve and direction, rather than as a uniform fringe. The eyebrows, too, are composed of individual hairs that grow in specific directions and densities, contributing significantly to a person's expression and overall look. For inspiration on rendering fine details, exploring various artistic styles can be beneficial.
Next, address the skin texture. Realistic skin is not a smooth, unblemished surface. It has pores, subtle wrinkles, moles, and blemishes, all of which contribute to its authenticity. Avoid the temptation to draw every single pore; instead, suggest texture through subtle variations in tone, slight imperfections, and the careful application of highlights and shadows. For instance, the slight sheen on an oily nose or forehead, or the subtle wrinkles around the eyes and mouth, can add immense realism. Use a kneaded eraser to lift tiny highlights for pores or fine hairs, and use a sharp pencil to create delicate lines for wrinkles. Remember that skin also has a translucency, allowing underlying blood vessels and bone to subtly influence its color and tone. This is where a nuanced understanding of value transitions becomes paramount.
Hair is another element that can make or break a realistic portrait. Rather than drawing individual strands uniformly, think of hair in masses and shapes, observing how light catches different sections and how it falls naturally. Render the darkest areas first, then build up mid-tones, and finally, add individual strands and highlights that define the texture and flow. Pay attention to the direction of growth, the natural part, and how hair interacts with the face. Whether it's silky straight, curly, or wavy, the texture should be implied through careful rendering of highlights and shadows, not by drawing every single hair.
Finally, capturing expression is paramount to bringing the portrait to life. Even a neutral expression carries subtle emotional cues. Observe the slight tilt of the head, the gentle curve of the lips, the subtle tension in the brow, or the slight crinkle around the eyes. These small details, when accurately rendered, convey emotion and personality, making the portrait resonate with the viewer. Practice drawing various expressions to understand how facial muscles alter the appearance of features. The combination of precise anatomical understanding, sophisticated shading, and an acute eye for these minute details is what elevates a good drawing to a truly realistic and captivating portrait.
Common Mistakes to Avoid and Advanced Tips for Realistic Portraits
Photo: Huy Nguyễn / Pexels
As you hone your skills in how to draw realistic portraits step by step, being aware of common pitfalls and incorporating advanced tips can significantly accelerate your progress and elevate the quality of your work. Many aspiring artists make similar mistakes, but recognizing and correcting them early on will save you frustration and lead to more satisfying results. Mastering realism is a journey of continuous learning and refinement.
**Common Mistakes to Avoid:**
* **Ignoring Proportions:** This is perhaps the most frequent error. Even slight inaccuracies in the placement or size of features can make a portrait look 'off' or unrecognizable. Always double-check your initial measurements and relationships between features.
* **Outlining Too Heavily:** Realistic drawing relies on values and edges, not strong outlines. Heavy outlines flatten the image and make it look cartoonish. Use light construction lines initially and let your shading define the forms.
* **Shading Without Form:** Applying random shading without understanding the underlying structure of the face results in a muddy, flat appearance. Always shade with the form in mind, thinking about how light falls on three-dimensional shapes.
* **Over-Blending:** While blending is important for smooth transitions, over-blending can obliterate textures and make the skin look plastic or lifeless. Know when to stop and allow some pencil marks or implied texture to remain.
* **Drawing What You Think You See:** Our brains often simplify or idealize faces. Train yourself to draw exactly what is in front of you, including imperfections, subtle value shifts, and unique characteristics, rather than relying on preconceived notions.
* **Lack of Value Range:** Not pushing your darks dark enough or keeping your lights light enough leads to a low-contrast image that lacks depth and impact. Utilize the full range of values your medium allows.
**Advanced Tips for Achieving Hyperrealism:**
* **Use Reference Photos Wisely:** While crucial, don't just copy a reference photo blindly. Analyze it for light source, values, and forms. Consider using a grid or projection method for initial layout accuracy, especially for complex poses.
* **Invest in Quality Materials:** Good quality paper (smooth but with enough tooth for layering), a range of pencils (2H to 8B), kneaded erasers, and blending stumps can make a noticeable difference in your ability to achieve smooth tones and fine details.
* **Observe Edges:** Pay extreme attention to the quality of edges. Some edges are sharp and defined (e.g., the edge of a nostril), while others are soft and subtle (e.g., the transition from cheek to jaw). Varying your edge work adds immense realism.
* **Practice Negative Space:** Sometimes, it's easier to define a feature by drawing the space around it. For instance, defining the space between the nose and the upper lip can help solidify the form of both.
* **The Power of Subtlety:** Realism often lies in the subtle details – the glint in an eye, the faint texture of a lip, the direction of a single hair. Don't underestimate the impact of these small touches.
* **Don't Fear Imperfection:** Real faces have moles, scars, asymmetrical features, and pores. Incorporating these natural imperfections, rather than trying to erase them, will make your portrait far more convincing and lifelike.
* **Step Back and Evaluate:** Regularly step away from your drawing for a few minutes, then return with fresh eyes. This helps you spot errors in proportion, value, or form that you might miss when too close to the work. Viewing your drawing in a mirror can also reveal discrepancies.
By consciously avoiding these common mistakes and diligently applying these advanced tips, you'll find your realistic portraits gaining incredible depth, authenticity, and a truly captivating likeness. The journey is iterative, with each drawing building upon the last, steadily enhancing your observational skills and rendering techniques.
Comparison
Feature
Graphite Pencils
Charcoal Pencils
Colored Pencils
Digital Painting
Ease of Blending
Good
Excellent
Fair
Excellent
Detail Capability
Excellent
Good
Excellent
Excellent
Value Range
Wide
Very Wide
Moderate
Infinite
Cleanliness
Moderate
Messy
Clean
Clean
Beginner Friendliness
✓
✗
✓
✗
What Readers Say
★★★★★
"This guide completely transformed my approach to how to draw realistic portraits step by step. The section on facial anatomy was a game-changer; I finally understand why my previous attempts looked flat. Highly recommend for anyone serious about portraiture!"
Sarah J. · Austin, TX
★★★★★
"I've tried many tutorials, but the emphasis on layering for shading in this article made all the difference. My portraits now have so much more depth and realism. It's incredibly thorough and easy to follow."
Michael D. · Seattle, WA
★★★★★
"Thanks to this guide, I finally drew a portrait of my grandmother that truly captures her likeness. The tips on refining textures and expressions were invaluable. She even cried when she saw it!"
Emily R. · Boston, MA
★★★★★
"A fantastic resource overall, especially for understanding proportions. I found some of the advanced tips a bit challenging for a beginner, but the core steps on how to draw realistic portraits step by step are incredibly solid."
David L. · Denver, CO
★★★★★
"As a digital artist looking to transition skills, the principles outlined here for how to draw realistic portraits step by step were perfectly applicable. The advice on value and form translated seamlessly to my tablet work."
Jessica M. · Portland, OR
Frequently Asked Questions
What are the most crucial elements for how to draw realistic portraits step by step?
The most crucial elements for realistic portraits are accurate proportions and anatomical understanding, followed by mastery of value and shading to create three-dimensional form. Finally, meticulous attention to unique details and textures brings the portrait to life, capturing the individual's likeness and expression effectively.
Is natural talent required to draw realistic portraits?
While some people may have a natural inclination, drawing realistic portraits is primarily a learned skill that develops with consistent practice, observation, and understanding of fundamental principles. Patience and persistence are far more important than innate talent.
How do I make my portrait subjects look less 'flat'?
To avoid flatness, focus heavily on value and shading. Understand how light hits the forms of the face and use a full range of tones from light to dark, building up layers gradually. Pay close attention to subtle transitions and reflected light to create depth.
What is the best type of paper and pencil for realistic portrait drawing?
For graphite portraits, a smooth, hot-press paper with a slight tooth (e.g., Bristol smooth or Stonehenge) is excellent for blending and detail. A range of graphite pencils from 2H (hard, light) to 8B (soft, dark) will allow you to achieve a full value range.
How do realistic portraits differ from stylized portraits?
Realistic portraits aim for an accurate, lifelike representation of the subject, focusing on precise proportions, values, and textures. Stylized portraits, conversely, intentionally exaggerate, simplify, or alter features for artistic expression, often prioritizing mood or design over strict likeness.
Who should follow these steps for realistic portrait drawing?
These steps are ideal for aspiring artists, art students, and anyone with a passion for drawing who wishes to improve their portraiture skills and achieve a high level of realism in their artwork, regardless of their current skill level.
Are there any health or safety risks associated with drawing realistic portraits?
Drawing realistic portraits generally poses no significant health or safety risks. However, ensure good posture to prevent back pain, adequate lighting to avoid eye strain, and proper ventilation if using strong fixatives or certain mediums like pastels or sprays.
What are the future trends in realistic portrait drawing?
Future trends in realistic portrait drawing may involve increasing integration with digital tools and AI-assisted rendering, hyper-realistic styles pushing the boundaries of detail, and a continued emphasis on capturing emotional depth and individual narratives within a realistic framework.
Ready to transform your artistic abilities and create breathtaking likenesses? Dive into our comprehensive guide and start your journey on how to draw realistic portraits step by step today. Unlock your full potential and bring your subjects to life with every stroke.
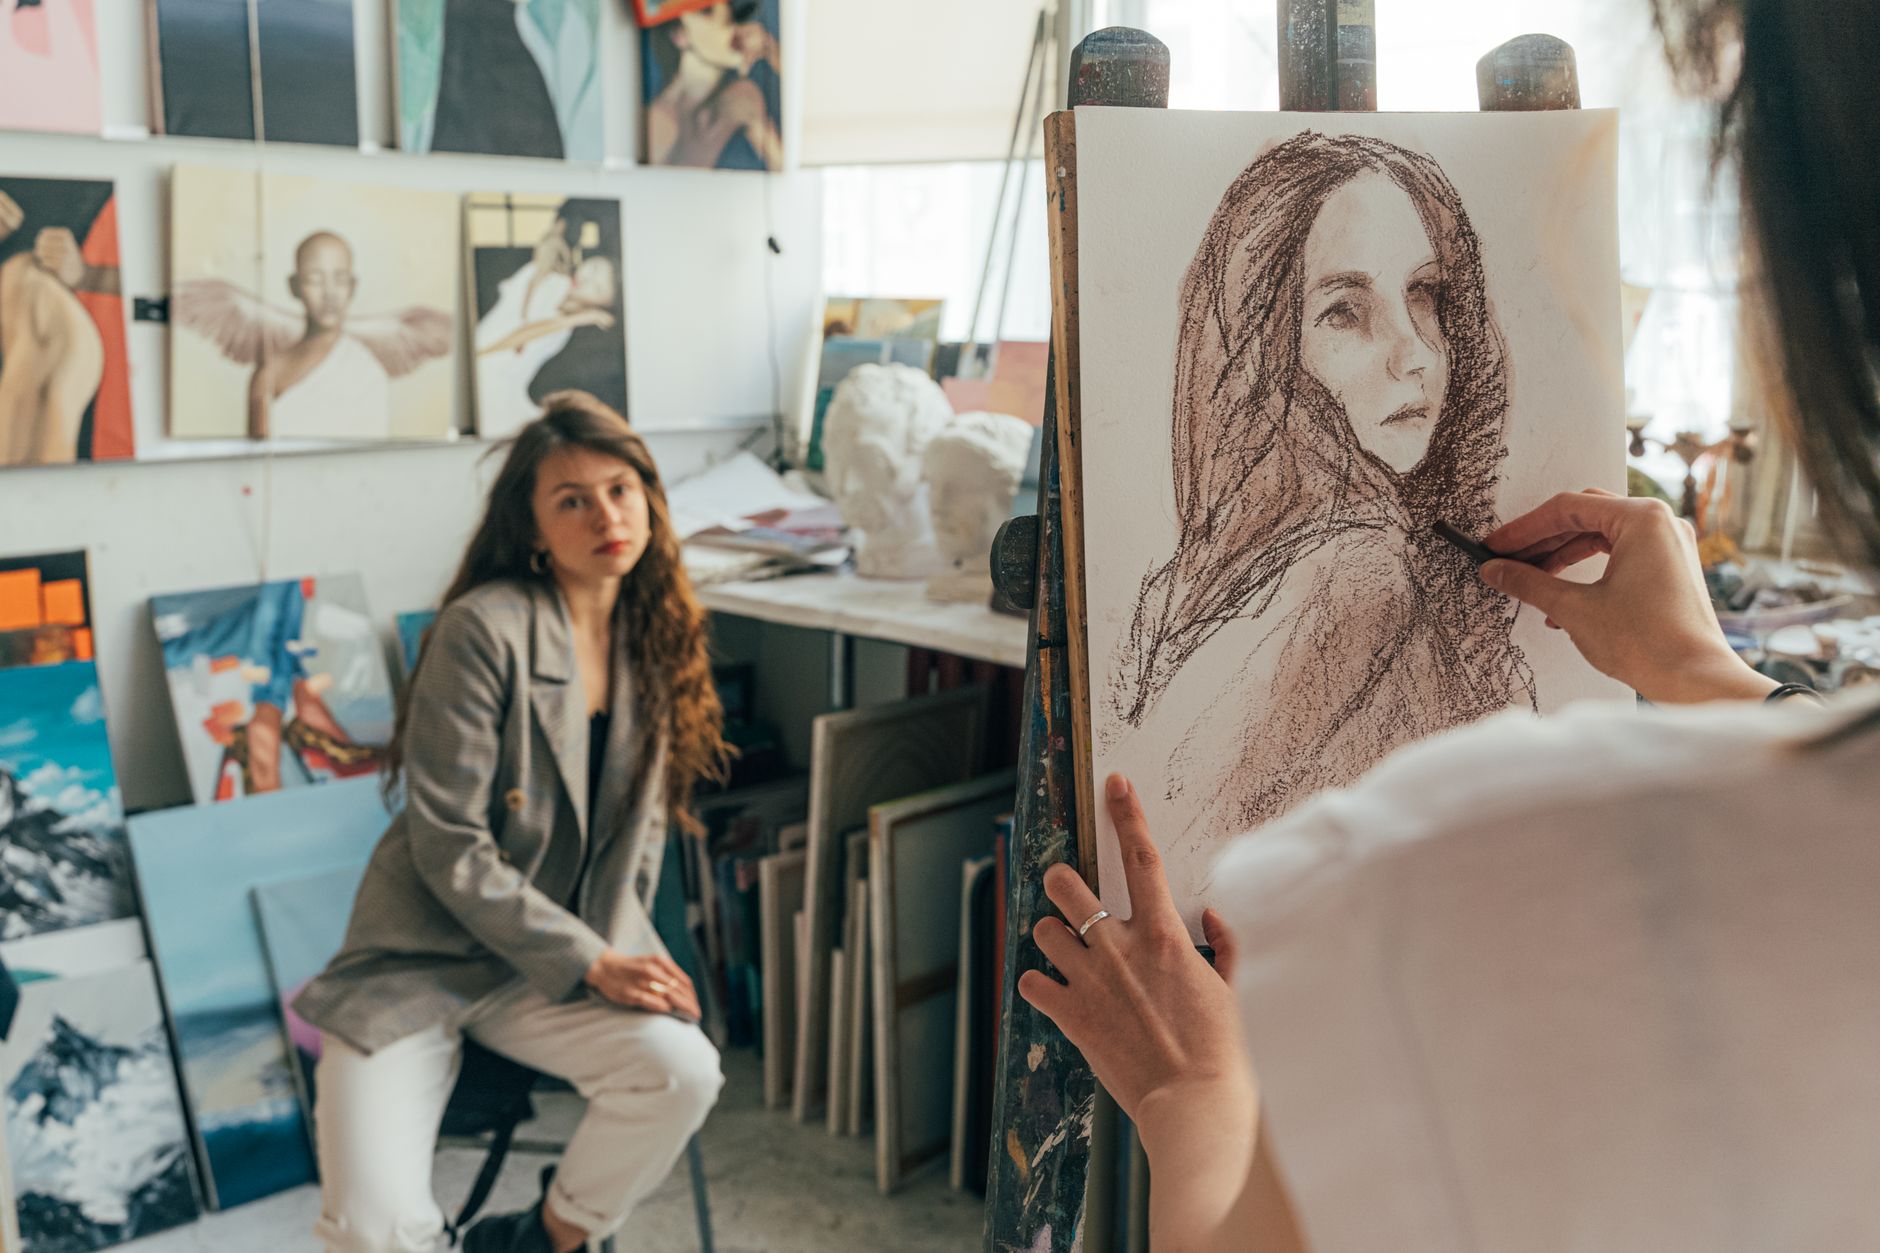
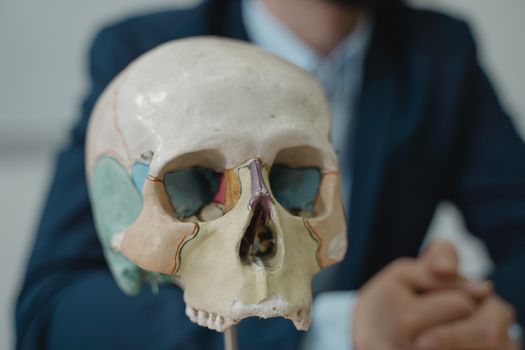 Photo: Tima Miroshnichenko / Pexels
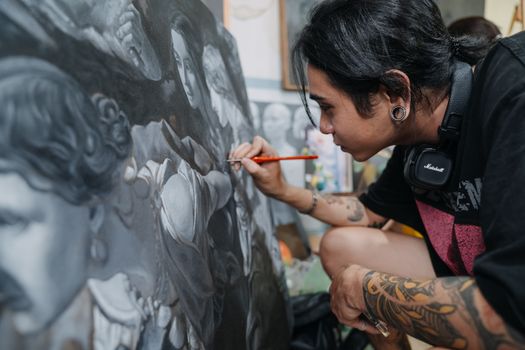 Photo: Huy Nguyễn / Pexels
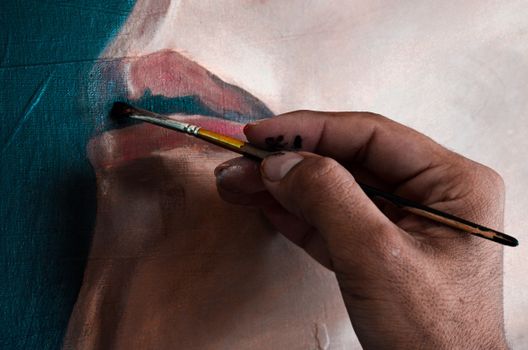 Photo: Lean Leta / Pexels
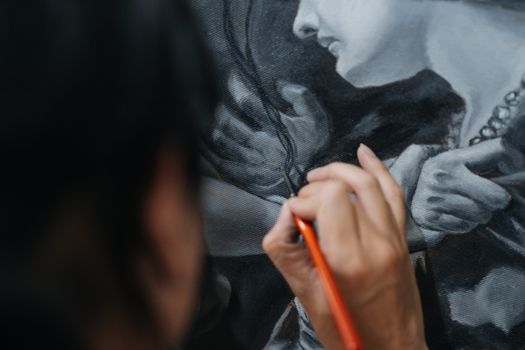 Photo: Huy Nguyễn / Pexels